
Last updated September 10, 2026
Full 25-point door and opener safety check with every visit - springs, cables, rollers, tracks, and your LiftMaster or Chamberlain opener included
You get a price before we start. It does not change when the truck arrives.
 Before
 After
After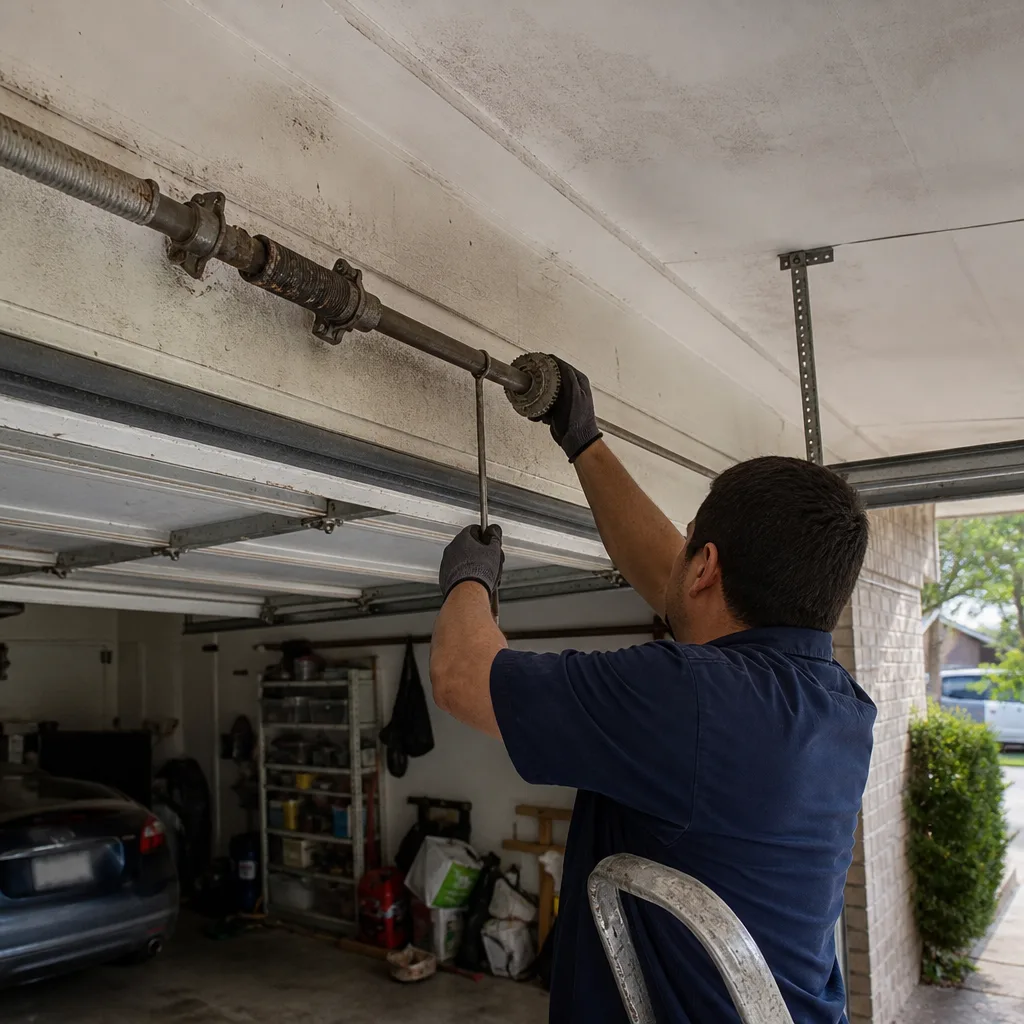 Before
 After
After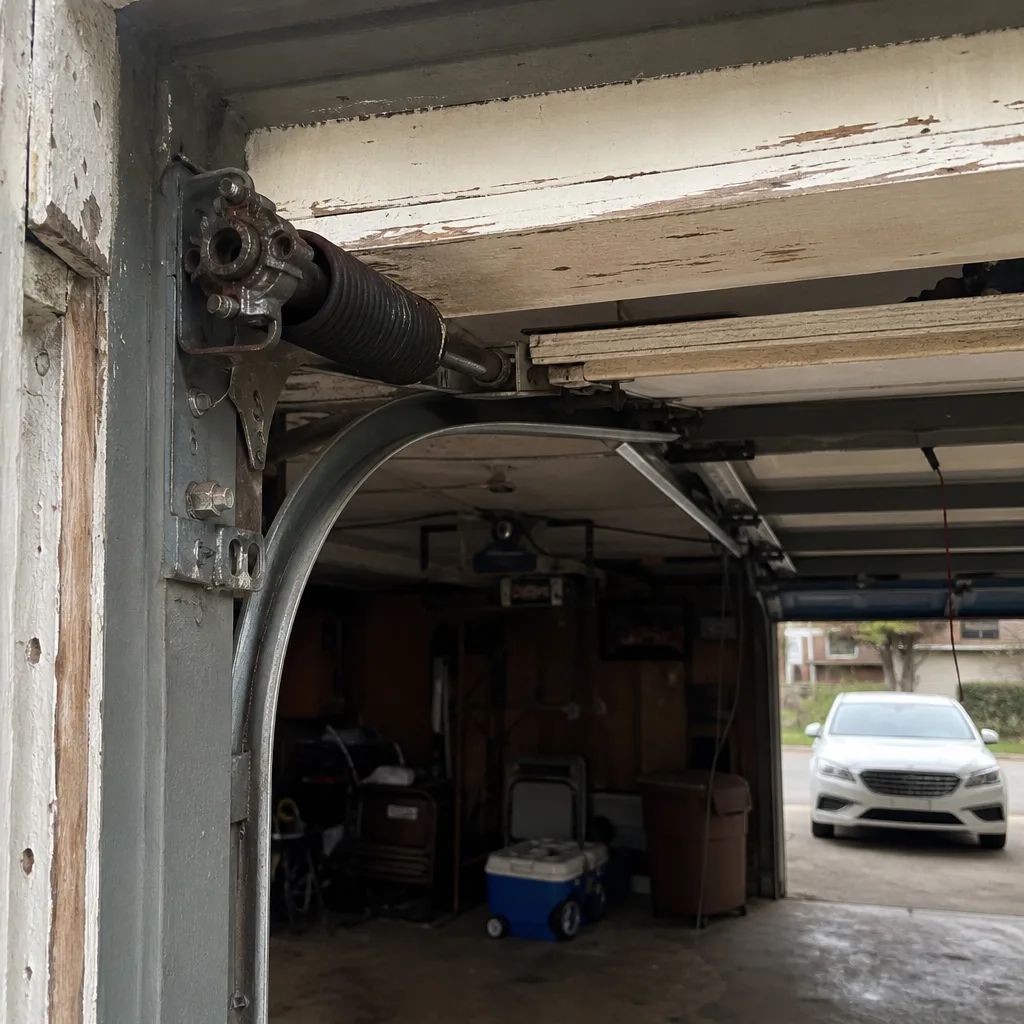 Before
 After
AfterGarage Door Repair Maintenance Checklist for Keller Homeowners
Garage door maintenance advice online usually says “lubricate moving parts twice a year.” That’s like telling someone to “check under the hood,” technically true, completely useless without knowing what you’re looking at or smelling for. A door is 200 pounds riding on two springs. Respect it. This checklist-along with our Garage Door Warning Signs: A Keller Homeowner’s Reference Guide-skips the generic filler and gives Keller homeowners the specific tolerances, sounds, and failure patterns that signal real trouble before a $35 tube of grease turns into a $400 service call. It’s the same list I work through on every tune-up visit in Keller, written down so you know exactly what I’m looking for and why.
Quick Answer
A garage door maintenance checklist for Keller homeowners should cover five things: spring balance and coil spacing, cable condition, roller and hinge wear, opener force settings and safety reversal, and seasonal lubrication with a product that won’t bake off in Texas heat. Most of it takes 30 minutes twice a year and costs about $20 in materials. The two things you should never do yourself are touching torsion springs and re-winding cables, because those are the two pieces under enough tension to put you in an ER.
Table of Contents
- The Balance Test: What Your Door Tells You in 30 Seconds
- Torsion Spring Inspection: Gaps, Rust, and Cycle Count
- Cable Check: Fraying You Can See Before It Snaps
- Rollers and Hinges: The Noise Map of a Failing Door
- Opener Force and Safety Reversal: The Test That Prevents Injuries
- Lubrication for Keller Heat: Products That Hold Up and the WD-40 Mistake
- Keller Seasonal Calendar: March and October Anchors
- Documenting Your Checklist: The Paper Trail That Pays Off
The Balance Test: What Your Door Tells You in 30 Seconds
Before you touch anything else, run the balance test. This single check tells you more about spring health than every other item on this list combined. Here’s how it works and what it means.
- Pull the red release handle hanging from your opener rail. This disconnects the door from the motor so you’re testing the door itself, not the opener.
- Lift the door manually to waist height, around three feet off the ground.
- Let go. The door should stay put or drift very slowly, no more than an inch or two.
If the door slams down, your springs are tired and working too hard to hold 200 pounds. If it flies up on its own, the springs are over-tensioned, which is its own problem. Both conditions mean the opener motor has been silently compensating for months, and opener motors fail faster than springs. If the opener is straining, the problem is almost never the opener. In Keller, where doors cycle four to six times a day for two cars, an unbalanced door burns through a $50 set of opener gears in about 18 months. Replace the gears and ignore the balance and you’ll replace them again next spring. I count spring cycles the way you count tire miles. I’ll tell you what’s left on yours.
What you’re listening for during this test matters too. Smooth and quiet is the goal. A grinding sound near the top of the tracks points to rollers. A metallic pop when the door changes direction points to hinge rivets. We’ll get to both below.
Torsion Spring Inspection: Gaps, Rust, and Cycle Count
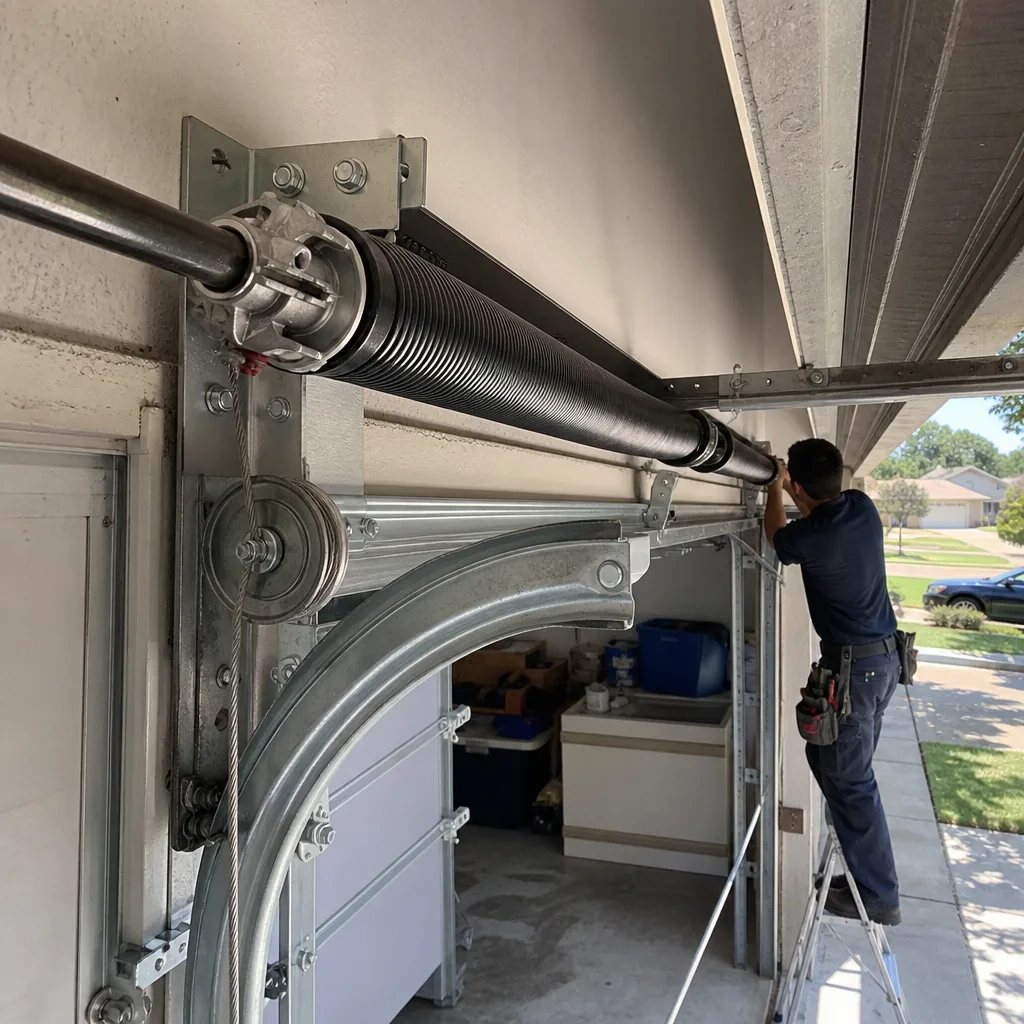
Here’s the part of every maintenance checklist where I stop being polite about safety. Do not touch torsion springs. Do not adjust them, do not loosen them, do not paint them, do not put a wrench on the winding cone. A torsion spring under tension stores enough energy to break bone or worse when it unwinds. In Keller, I’ve lost count of homeowners who tried a “quick YouTube fix” and ended up with stitches. This section tells you what to look for, not what to do. That distinction stays between you and a hospital visit.
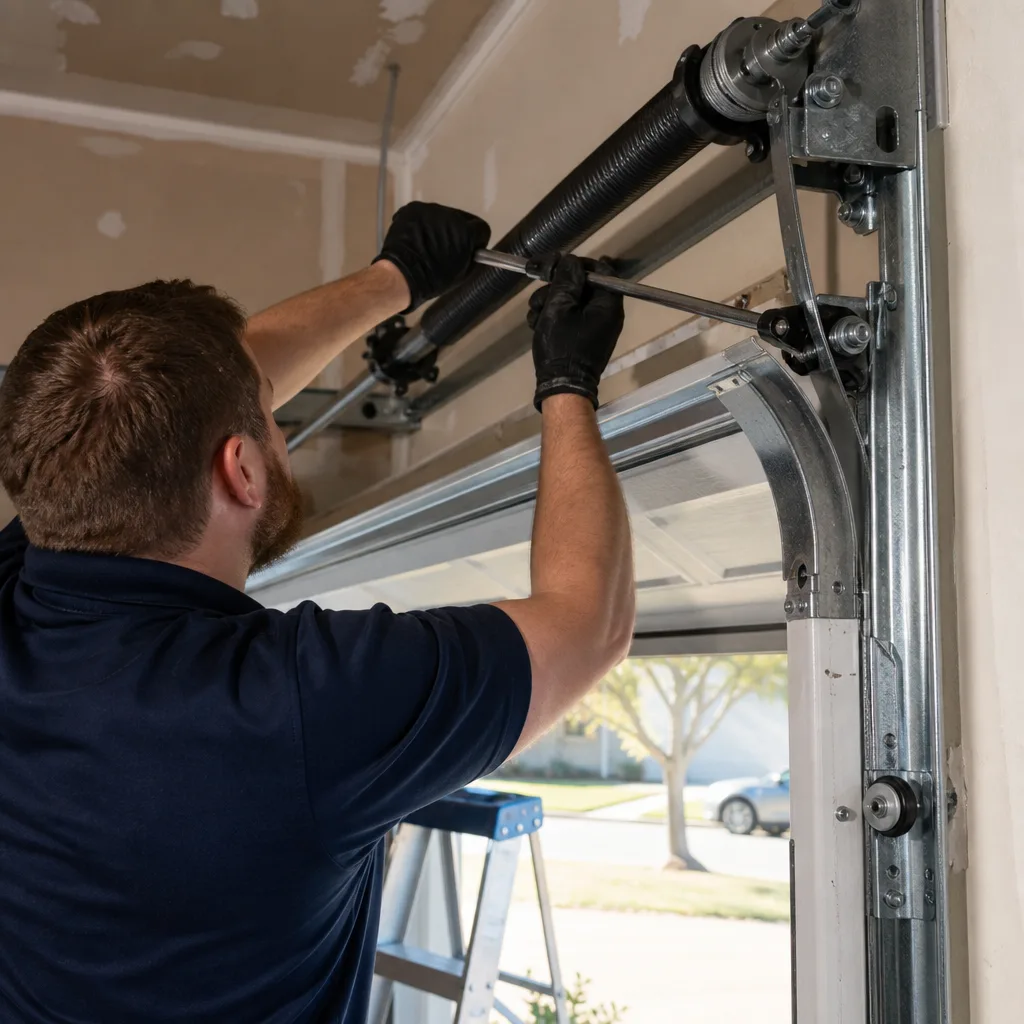
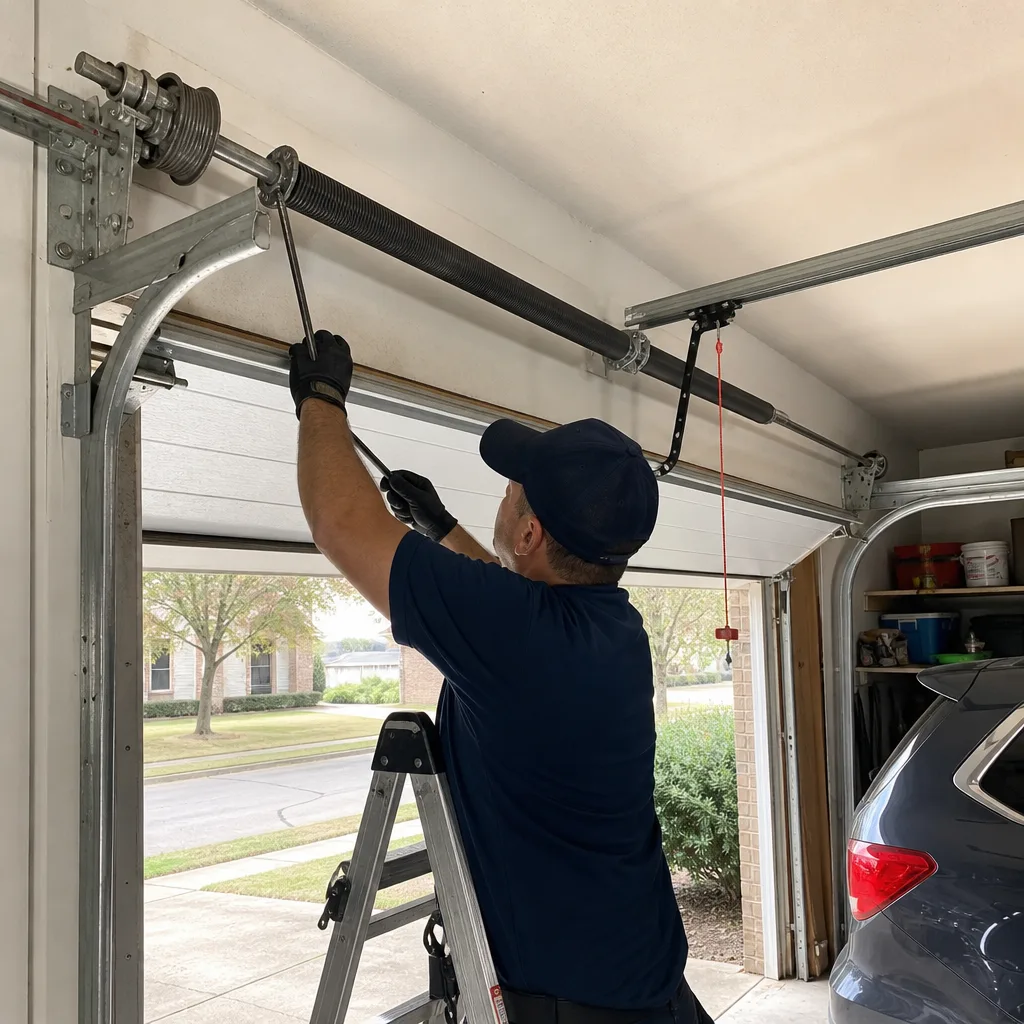
Stand on a step ladder and look at the spring coil spacing. A healthy spring has coils spaced evenly, like the thread on a screw. What you’re checking for is a gap wider than a nickel anywhere in the coil run. A gap means the coil has stretched. A stretched coil is a spring that has already started to fail. It still works today. It may not work next week. The fix is spring replacement, not adjustment, and if you catch it before the snap, you avoid the 2 a.m. emergency call when your car is stuck inside the garage.
Then look for rust. Surface rust is cosmetic and normal after a few Keller summers. What’s not normal is rust that has pitted the metal or corrosion concentrated at the ends of the spring near the cones. The ends take the most stress. A pitted spring end is a crack waiting to happen. I’ve replaced springs in Keller garages with 15,000 cycles on them and springs with 3,000 cycles that sat unused in a humid garage for years. Use matters, but so does storage conditions and whether the door was ever balanced properly after installation.
The average 10,000-cycle spring lasts seven to nine years in a Keller household that opens the door four times a day. If you don’t know when yours were installed, look at the paint stripe on the spring. The color encodes the wire size and door weight rating, and I can date most installations from that stripe and the brand. If your springs are past year eight and you’re starting to notice the door feels heavier, plan the replacement instead of waiting for the snap. Planned replacement costs about half what an emergency call after hours runs.
Cable Check: Fraying You Can See Before It Snaps
Your garage door has two cables. They run up either side of the door from the bottom bracket to the drums at the top. When a cable snaps, the door drops unevenly, the track bends, and if you’re inside the garage at the time, you now have a 200-pound door hanging crooked above your car. That’s a repair bill, not a maintenance item.
The good news is cables almost always warn you first. Look at the full cable run with a flashlight. You’re checking for three things:
- Frayed strands: any broken wire poking out from the cable. One broken strand is the starting gun. It means moisture or friction got into the cable and the rest will follow.
- Flat spots or kinks: run a gloved finger lightly along the cable. It should feel round and uniform. A flat section means the cable has been pinched in the drum and is wearing thin at that point.
- Rust at the bottom bracket: Keller humidity collects near the floor. The bottom bracket is the most common Cable failure point in our climate. If the cable where it attaches to the bottom bracket looks corroded, that’s the failure point.
Do not attempt to re-wind or re-thread a cable yourself. Same rule as springs. The cable is under the same tension. When a cable pops off the drum, the door jams against the track, and the first instinct is to pry it back into place. Prying is how you remove a finger. In our experience, almost every cable injury Otto sees starts with a screwdriver and good intentions. Call our Garage Door Repair services instead. A cable replacement in Keller typically runs $180 to $260 installed, and the person doing it arrives with the right parts and the right respect for the tension.
Rollers and Hinges: The Noise Map of a Failing Door
Your garage door makes noise. Some of it is normal. Some of it is the door telling you a part is $30 today or $300 after it fails and takes a track or panel with it. Learning which noise is which is the whole game.
Rollers are the wheels that run inside the vertical and horizontal track. Keller homes built before 2010 often still have original steel rollers. Steel rollers have no bearings. They grind metal on metal against the hinge stem until the stem wears thin and snaps. The sound is a rumble or grinding noise that follows the door as it moves. You can check roller health by looking at the wheel itself. A healthy roller is round with no flat spots and no wobble when you grab it. If the roller has visible wear on the outer edge or the stem looks thin, replace it. Nylon rollers with sealed bearings run quiet and last twice as long in our heat. Replacement runs $15 to $35 per roller installed, and a door needs 10 to 12 of them. That’s a maintenance item worth doing before failure.
Hinges are the metal plates that connect the door sections. Listen for a popping or creaking sound when the door goes around the curve in the track. That’s the hinge pinch point, and it’s where hinge rivets loosen over time. A loose rivet lets the hinge flex, the door section shifts, and panels start to rub against each other, leaving scuff marks on the interior of the door. Replacing a loose hinge costs less than $40. Replacing a section of a Wayne Dalton or Clopay door because the hinge let the panel crack costs several hundred. Check hinge rivets with your hand. Any wiggle means replacement.
Finally, check the track bolts. Every four to six months, bolts on the track brackets work loose from the vibration of the door cycling. A loose track lets the door ride crooked, which wears rollers faster and can pop a cable. The fix takes five minutes with a socket wrench. That’s a genuine homeowner job, safely in your lane.
Opener Force and Safety Reversal: The Test That Prevents Injuries
Every garage door opener sold in the United States since 1993 has a safety reversal system. It’s the feature that makes the door reverse if it hits something while closing. It’s also the feature that most homeowners never test, and when it fails, it’s the difference between a door that closes on a kid and a door that stops. This is the most important test on this list. Do it every month.
The test is simple. Place a roll of paper towels flat on the floor in the path of the door. Close the door. The door should hit the towels and reverse within two seconds, returning to the open position. If the door crumples the towels and keeps pressing, the force setting is too high, and the opener is now a hazard. This is not a rare failure. I’ve tested openers in Keller homes where the force setting had drifted high enough to crush a 2×4 without reversing. That’s a door that will close on a child or a pet and not stop.
Adjusting force settings is a homeowner-safe task on most modern LiftMaster, Chamberlain, and Genie openers. Look for two dials on the opener unit, one marked “up force” and one marked “down force.” Turn the down force dial down slightly, then retest. The door should close firmly but reverse on the paper towels. If it won’t close without maxing out the force, that’s not an opener adjustment problem. That’s a door balance or track problem, and the opener is masking it. Refer back to the balance test above. If the opener is straining, the problem is almost never the opener.
Also check the photo-eye sensors at the bottom of the door track. These are the small lenses on each side that project an invisible beam across the opening. If the beam is blocked, the door won’t close. In Keller garages, the most common cause of a sensor failure is a spider web or dust on the lens. Wipe both lenses with a dry cloth. If the sensor lights are solid, the beam is aligned. If one is blinking, the beam is blocked or out of alignment. Sensor misalignment is a simple fix with a gentle nudge until both lights go solid, and it’s safe for any homeowner. A full guide to Garage Door Opener in Keller covers force settings and sensor alignment in depth.
Lubrication for Keller Heat: Products That Hold Up and the WD-40 Mistake
Here’s the single most common maintenance mistake I see in Keller garages: someone sprays WD-40 on everything that moves and calls it lubricated. WD-40 is a solvent and a water displacer. It cleans, and then it evaporates, and what’s left is a thin layer that attracts dust. On garage door hardware, WD-40 strips whatever lubrication existed and replaces it with nothing. In a Keller garage that hits 110 degrees in August, nothing means metal on metal within a week. Do not use WD-40 on garage door parts. Not the springs, not the rollers, not the hinges.
What does work is a lithium-based white grease or a dedicated garage door lubricant. I use a spray lithium grease on hinges, springs, and the bearing plates at the ends of the torsion tube. It goes on thin, sets up into a film that stays put in heat, and doesn’t drip onto the car below. For rollers with sealed bearings, no lubrication is needed. The bearings are sealed from the factory. Lubricating a nylon roller is pointless and attracts grit. For steel rollers, a drop of oil on the bearing stem helps, but honestly, the better move is to replace steel rollers with nylon and stop lubricating them forever.
What needs lubrication, on a schedule:
- Torsion springs: a light coat of lithium grease twice a year. This prevents rust, which is the enemy of spring life. In Keller’s humidity, especially near the lake, do this in March and October.
- Hinges: a short spray on the hinge pivot points. Two seconds per hinge is plenty. Too much grease drips down the door and collects dust.
- Track bearings and end plates: the metal plates where the torsion tube rotates at each end. A few drops of oil or a short grease spray keeps them quiet.
- Opener chain or screw: if you have a chain drive, use a light machine oil on the chain. If it’s a screw drive, use a screw drive grease. LiftMaster and Genie each sell a specific product. Don’t use the wrong one.
Do not lubricate the track itself. The rollers roll on the track, and a greasy track collects dust and grime that becomes sandpaper. Same logic applies to the photo-eye lenses, which need a dry cloth, not spray. If you’re in doubt about what product to use on a Genie or Chamberlain opener, a quick Otto’s Garage Door home visit or phone call will get you a straight answer in under two minutes.
Keller Seasonal Calendar: March and October Anchors
In Keller, garage door maintenance is a twice-a-year job, and the calendar anchors matter. Everything in this guide should be done in March and again in October. Here’s why those two months and what to prioritize in each.
March: Keller summers are the real test. By July, your garage interior hits 120 degrees routinely, and that heat does three things to a garage door. It expands the metal in the track, it bakes lubrication out of the springs, and it accelerates wear on rubber and plastic parts including weather seals, rollers, and opener belts. The March maintenance pass is about hardening the door before the heat hits. Lubricate everything on the list. Check the balance. Test the safety reversal. Clear the tracks of winter grime. If your weather seal along the bottom of the door is cracked or brittle, replace it now while the weather is mild. A cracked seal lets hot air and dust in all summer and it’s a $30 part you can replace with a screwdriver.
October: Keller cold snaps are usually short, but they matter. When the temperature drops from 75 to 25 in 12 hours, which happens in North Texas, the metal parts contract. Any micro-crack in a spring or cable that was fine in September becomes a failure point in the first hard freeze. The October pass is about catching those cracks before they go. Check cable fraying and spring coil gaps carefully. Look for rust that formed during the humid summer. Test the opener’s cold-weather behavior by running a full open and close cycle and listening for straining. If the door hesitates or groans in the cold, that’s a spring losing tension, and it will not fix itself by March.
Two hours a year, one in March and one in October, will add years to your door’s life. I’ve serviced Keller doors installed in 2004, the year I started this business, that still run like new because their owners did this twice-yearly pass without fail. I’ve also replaced springs on five-year-old doors that never got a single maintenance check. The difference is not the door. It’s the calendar.
If your door needs more than maintenance, our guide to Garage Door Repair in Keller covers repair options, and our Garage Door Installation in Keller page walks through replacement timelines and materials. Both are worth the read if your checklist turns up something that can’t be fixed with grease and a socket wrench.
Documenting Your Checklist: The Paper Trail That Pays Off
Most homeowners run through a maintenance checklist, nod at the clean bill of health, and then never write anything down. That’s a missed opportunity with real money attached. Here’s why documentation matters and what to record.
Every garage door manufacturer including Clopay, Amarr, and Wayne Dalton has warranty language that requires “normal maintenance.” When you file a warranty claim and you can’t document any maintenance, the claim gets denied. A notebook page or a phone note with the date, what you checked, and what you replaced is all you need. I’ve seen this exact documentation get a Keller homeowner a free replacement panel on a Clopay door that the manufacturer initially denied. The note read “lubricated hinges, checked cables, no issues” with a date three months before the panel cracked. That’s it. That’s the paper trail.
Record these five things each maintenance pass:
- Date of the check.
- Balance test result: held steady, drifted, or slammed.
- Safety reversal test result: reversed or failed.
- Parts lubricated and products used.
- Anything replaced, including part brand and approximate cost.
If you ever call me for service, that log tells me more in 30 seconds than an hour of diagnostics. It tells me when the springs were last inspected, whether the door has been balanced, and what problems you’ve already noticed. That’s the difference between a $200 repair and a $900 replacement guess. And if you file an insurance claim for a door that failed during a storm, the documentation shows the door was maintained to standard, which speeds the claim along. It’s five minutes twice a year. It’s worth more than you think.
Common Mistakes to Avoid
- Using WD-40 as a lubricant. It’s a solvent that strips lubricant and evaporates, leaving metal on metal in Keller heat. Use lithium grease or a dedicated garage door lubricant.
- Skipping the balance test because the opener still works. The opener is compensating for the dying springs. By the time the opener fails, you’ve added a $200 opener gear replacement to the spring bill.
- Testing the safety reversal with a lazy foot or a cardboard box. Use something with real resistance like a roll of paper towels. A soft test passes on an opener that would crush a child.
- Greasing the track. The track is not a moving part. Grease on the track collects dust and grit that grinds rollers down faster.
- Ignoring a popping noise at the curve in the track. That pop is a hinge rivet failing, and a hinge failure cracks door panels. A $40 hinge becomes a $400 panel.
- Thinking cable inspection is optional. Cables are the one failure that turns dangerous when it lets go. A quick flashlight check twice a year is the cheapest safety inspection in your house.
When to Call a Professional
Some jobs on a garage door are homeowner jobs. Track bolts, photo-eye cleaning, lubrication, and safety reversal testing are all safe. Torsion springs, cables, and drum work are not. If your balance test fails, your spring has a visible gap, your cable shows fraying, or your door makes a sound you can’t identify and it’s getting louder, call before the failure. A door is 200 pounds riding on two springs, and when one spring goes, the repair is no longer optional. For guidance on choosing the right pro, see How to Hire a Garage Door Contractor in Keller: A Step-by-Step Guide. Otto’s Garage Door offers free estimates in Keller, and the price I quote on the phone is the price you get at the door. Call (817) 241-0932 and a live person answers, usually me. I’ve been doing this in Keller since 2004, and I’ll tell you straight if something needs fixing now or can wait until October.
Frequently Asked Questions
Twice a year, in March and October, matches Keller’s climate. March gets the door ready for summer heat, and October catches cracks and rust before the first cold snap.
The balance test. Disconnect the opener, lift the door to waist height, and let go. If it holds or drifts slightly, the springs are healthy. If it slams, the springs are failing even if the door still opens fine.
Yes, and you should. Lithium grease on the springs, hinges, and bearing plates is safe and effective. Avoid WD-40 entirely, and don’t grease the track or the rollers with sealed bearings.
Doing it yourself costs about $20 in materials each year. A professional tune-up in Keller typically runs $85 to $150 depending on what needs adjustment and replacement. That’s cheaper than the $400 emergency spring replacement that follows neglected maintenance.
That’s a loose hinge rivet at the track curve where the section changes angle. Replacing the hinge costs under $40, and ignoring it can crack the door panel, which costs several hundred to replace.
Yes. Most brands including Clopay, Amarr, and Wayne Dalton require documentation of normal maintenance to honor warranty claims. A dated note showing what you checked and lubricated is enough.
The Bottom Line
Garage door maintenance in Keller comes down to five checks twice a year: balance, springs, cables, rollers and hinges, and opener safety. Run the balance test. Look for a spring gap wider than a nickel. Check cables for fraying. Listen for pops and grinding. Test the safety reversal with paper towels. Lubricate with lithium grease in March and October, and skip the WD-40. Keep a written log. That’s the whole system, and it costs less than an hour of your time twice a year. For more guides & resources, explore our blog. When something on this checklist fails, call (817) 241-0932 before you touch a spring or a cable. Free estimates, straight prices, and the name on the van is the name on the invoice and the name on the license.
Written by Otto Reinhardt, Owner at Otto’s Garage Door, serving Keller since 2004.