
Last updated September 10, 2026
Full 25-point door and opener safety check with every visit - springs, cables, rollers, tracks, and your LiftMaster or Chamberlain opener included
You get a price before we start. It does not change when the truck arrives.
 Before
 After
After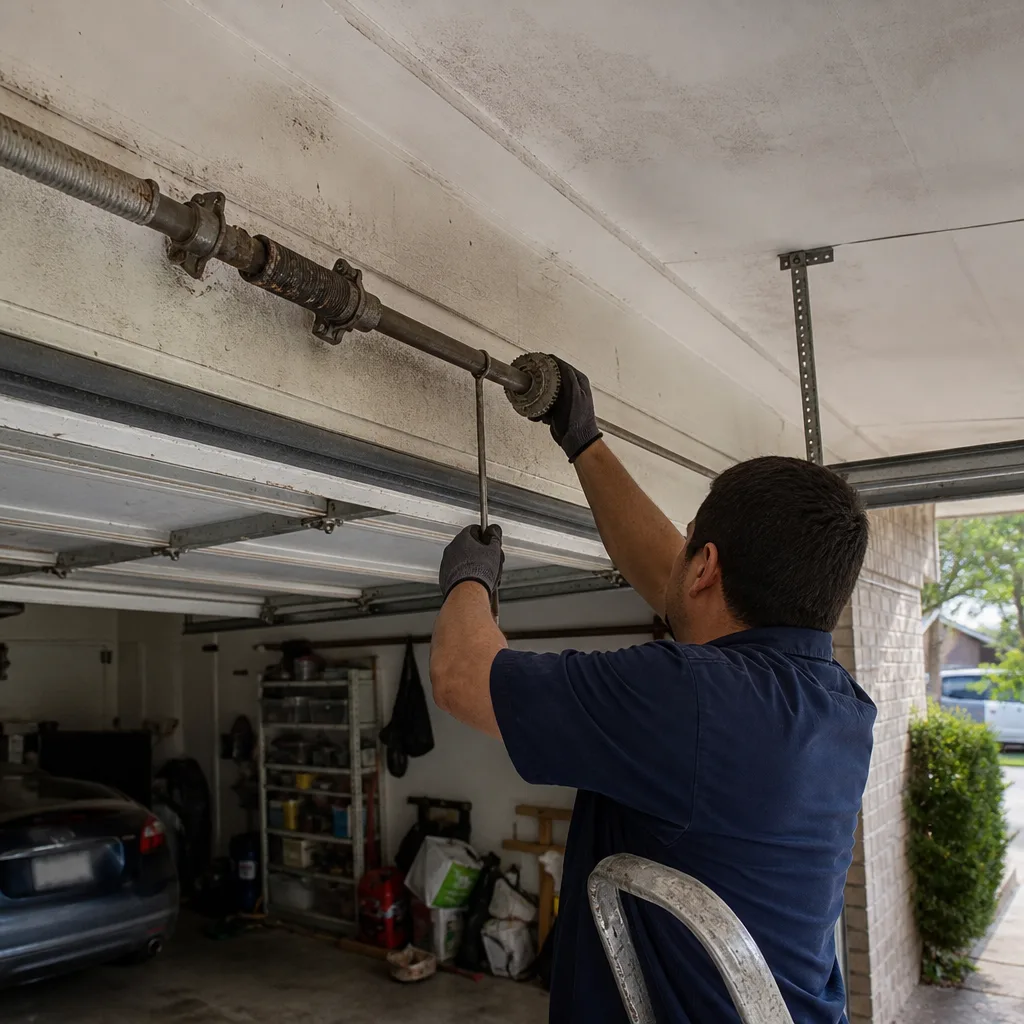 Before
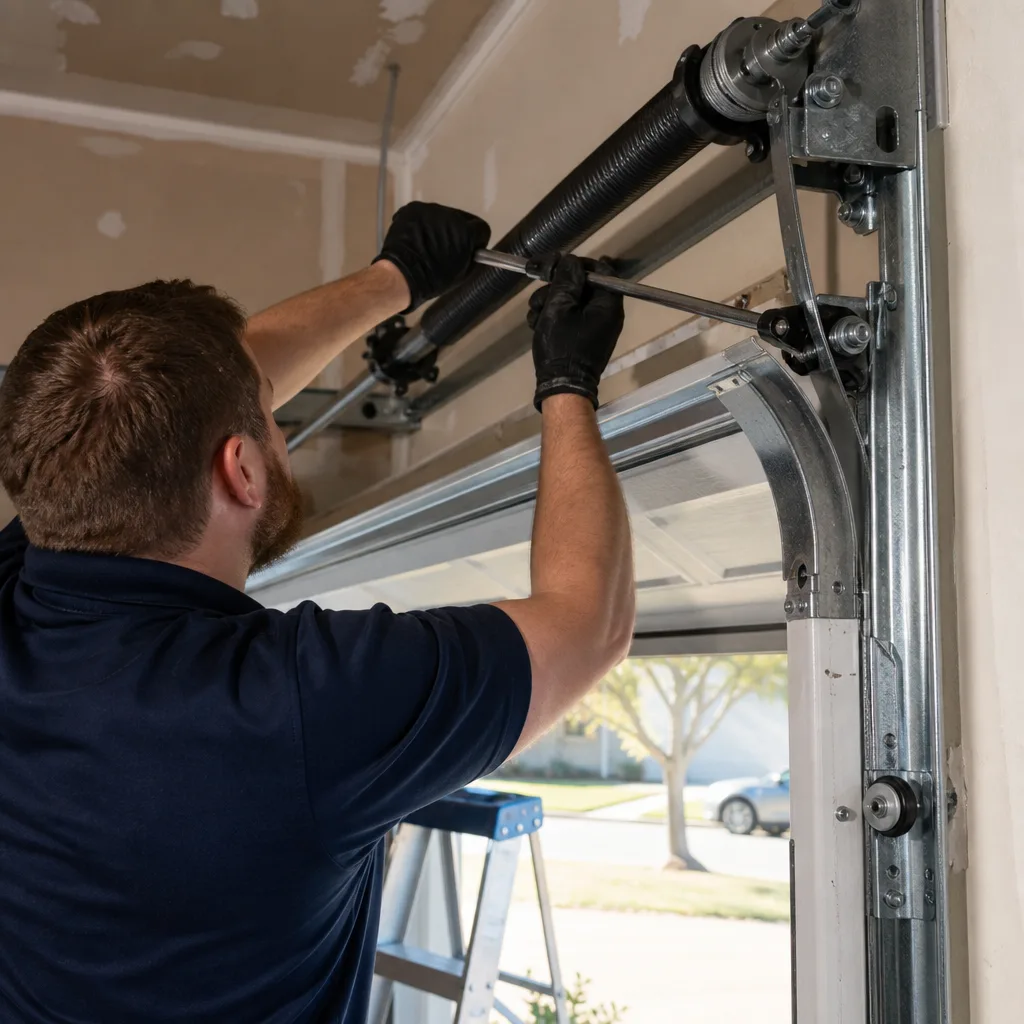 After
After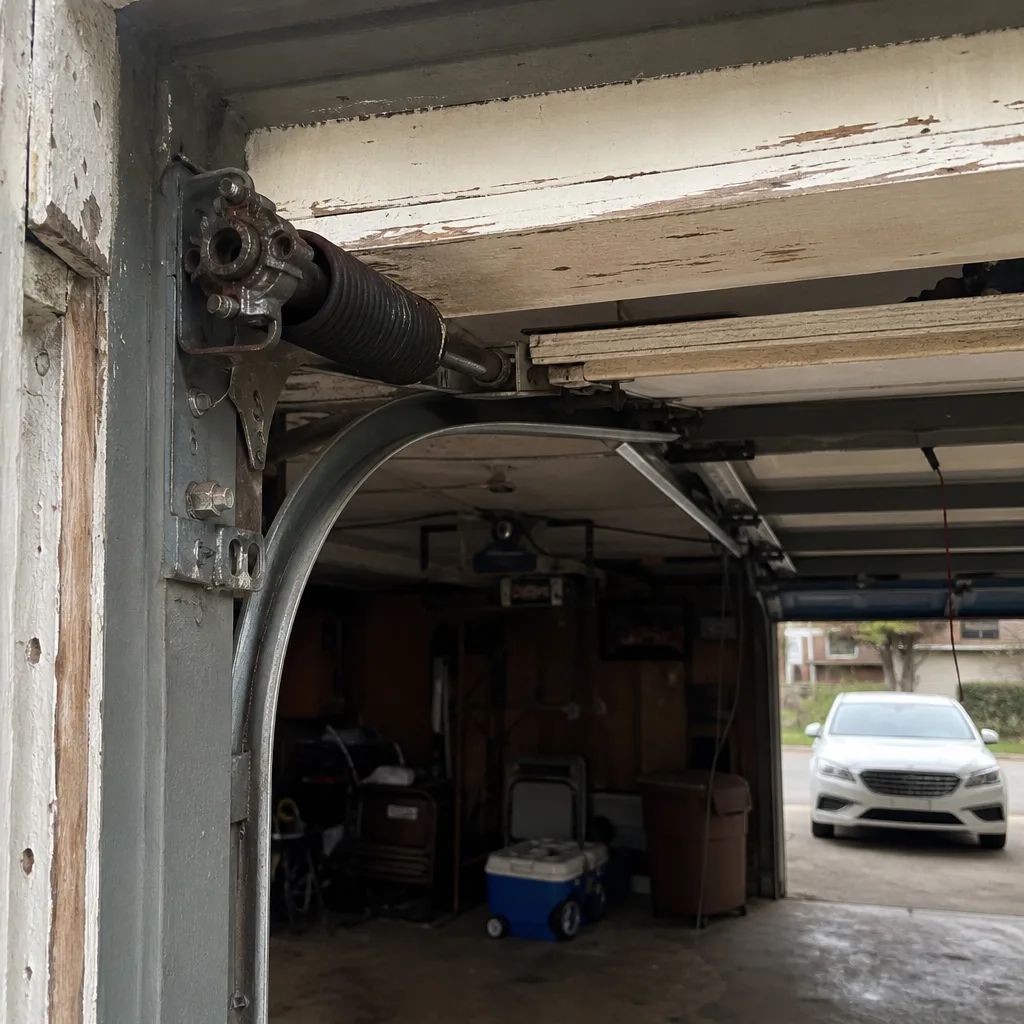 Before
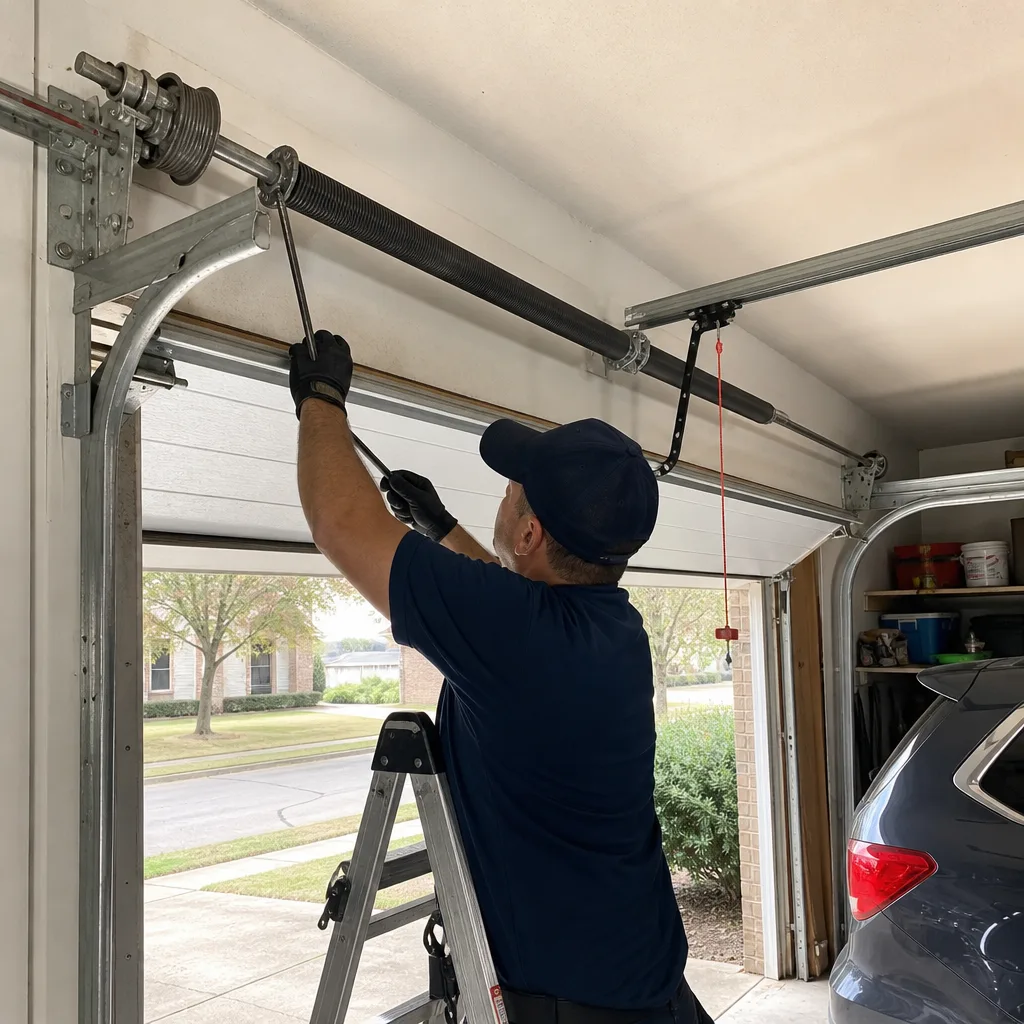 After
AfterDIY vs Professional Garage Door: The Keller Homeowner’s Decision Guide
Here’s the number that should reset how every Keller homeowner thinks about garage door work: a standard 16-foot residential door weighs somewhere between 150 and 250 pounds, and the torsion spring above it holds enough stored energy to break a forearm if it lets go while you’re standing in the wrong spot. That’s not a scare line. That’s the physics. This guide draws the actual line between what you should absolutely do yourself, what you can do if you’re methodical, and what belongs in the hands of someone who’s done it a few hundred times. For a full maintenance checklist Keller homeowners can follow, see our companion guide. We’ll walk through real Keller pricing, the tools that flip the DIY math against you, and the specific jobs where Otto himself will tell you to go ahead and save the service call.
Quick Answer
Most garage door tasks in Keller fall into three buckets: safe DIY (battery changes, sensor realignment, weather seal replacement, routine lubrication), risky-but-possible (roller replacement, opener installation, panel painting), and never-DIY (torsion spring work, cable replacement, track repair). The dividing line isn’t your skill level. It’s stored mechanical energy and the cost of specialty tools. Call (817) 241-0932 when a spring is involved. Save the trip for everything that runs on a battery.
Table of Contents
- The Line Between DIY and Professional: It’s Energy, Not Skill
- Safe DIY Tasks: What Otto Tells You to Do Yourself
- DIY-Possible-But-Risky: The Judgment Call Zone
- Never DIY: Where Stored Energy Wins
- Real Cost Comparison for Keller: When DIY Saves and When It Doubles the Bill
- Tool and Parts Reality: The DIY Math That Works Against You
- What Otto Tells Homeowners Who Want to Do It Themselves
- Common Mistakes to Avoid
- When to Call a Professional
- Frequently Asked Questions
- The Bottom Line
The Line Between DIY and Professional: It’s Energy, Not Skill
Most people frame the DIY question wrong. They ask, “Am I handy enough?” when they should ask, “What happens if this fails while I’m touching it?” Those are two completely different questions. Changing a remote battery has a failure mode of “the remote still doesn’t work.” Adjusting a torsion spring has a failure mode of “winding bar snaps back at 200 pounds of force into your face.” Same homeowner, same confidence level, wildly different risk.
In Keller, we deal with the full Texas summer heat cycle. Doors expand in August, contract in January, and the springs and cables absorb all of that. A door that worked fine in March can have completely different tension characteristics by late July. That’s not a maintenance failure. That’s just physics in Tarrant County. But it means the margin for error on a DIY adjustment is thinner here than in milder climates.
The three-tier framework below comes from 20 years of watching what works, what fails quietly, and what sends people to urgent care. It’s not generic safety advice. Each categorization has a specific mechanical reason behind it.
If you want a deeper look at what professional repair actually involves day to day, our Garage Door Repair in Keller page covers the full scope of what we see across every Keller neighborhood, from Marshall Ridge to Hidden Lakes to Melody Farms.
Safe DIY Tasks: What Otto Tells You to Do Yourself
Otto is not in the business of inventing service calls. If a job takes ten minutes, costs seven dollars in parts, and carries no risk of injury, he’ll tell you to do it yourself and call him when something actually breaks. Here’s the honest list.
1. Remote and keypad battery replacement. If your opener remote is sluggish or dead, replace the battery first. It’s a coin cell or a 9-volt depending on the opener. LiftMaster and Chamberlain remotes typically use a CR2032. Craftsman units usually take a 9-volt. This is a two-minute job that requires zero tools beyond a small screwdriver. If it still doesn’t work after a fresh battery, then you call.
2. Photo eye sensor realignment. If your door starts closing and then reverses for no reason, the sensors near the bottom of the track are probably out of alignment. They’re held by small brackets. Loosen the wing nut, point them at each other until the little light goes solid, tighten. No spring tension involved, no cables under load, no risk.
3. Weather seal replacement. The rubber strip along the bottom of your door takes abuse from Texas sun and Keller’s occasional ice storms. It cracks, it shrinks, it stops sealing. A replacement seal costs between $25 and $45 at most hardware stores, and installation is a matter of sliding the old one out of the channel and feeding the new one in. No tools that cost money, no stored energy anywhere near it.
4. Routine lubrication. White lithium grease on the hinges, the roller bearings, and the spring coils, plus a silicone spray on the track. Do this twice a year. It costs less than fifteen dollars and keeps everything moving. Word of caution: you’re lubricating, not adjusting. The spring does not need to be touched during this job in any way.
5. Manual release test. Every opener has a red cord hanging from the trolley. Once a month, pull it and try lifting the door by hand. It should open smoothly and stay up. This tests whether the springs are balanced. If the door is heavy or slams shut, the springs are failing, and that is no longer a DIY conversation. This test is safe and it’s the single best early warning system a homeowner has.
6. Visually checking cables and hardware. Look at the cables that run up each side of the door. Look at the hinges and brackets. If you see fraying cables or loose bolts, you’ve caught a problem before it became a catastrophe. Looking is free. Fixing those specific things is not DIY territory, but identifying them early saves money regardless of who ultimately does the repair.
DIY-Possible-But-Risky: The Judgment Call Zone
This middle tier is where homeowners get themselves into trouble, because nothing in these tasks screams “dangerous” until the moment they do.
Roller replacement. Rollers wear out. Nylon rollers lose their coating, steel rollers get flat spots, and when they fail, the door gets louder and rougher. Replacing the bottom two rollers requires removing tension from the lift cables, which requires dealing with the springs. The top rollers can sometimes be swapped by removing the hinge and popping a new roller in, but if the door is high-lift or has low clearance track, even that gets complicated. If you’re replacing rollers on a standard 7-foot door with extension springs and you understand that you need to block the door open first, this can be done. If you have torsion springs, call.
Opener installation. Here’s where the math flips more often than people expect. A decent chain-drive opener costs $200 to $350. A belt-drive runs $300 to $450. Professional installation in Keller typically adds $200 to $350 on top of the unit price. So the savings from a full DIY install look real on paper. But opener installation is finicky work: you need to mount the unit level, set the travel limits precisely, dial in the force settings so the door reverses when it should, and wire the safety sensors. A misconfigured opener can crush a child, a pet, or a car bumper. Several of the openers we service in Keller were DIY installs gone wrong. For most homeowners, this one lands on the “hire it out” side. If you’re committed, buy from a brand with decent documentation like Genie or Raynor, watch the full installation video before you buy the unit, and budget six hours.
Panel painting. Steel doors from Amarr or Wayne Dalton are painted at the factory with a baked-on finish that does not need homeowner paint. If you want to change the color or refresh a faded door, you can do it. Use an exterior latex or acrylic paint, clean the surface thoroughly, and avoid painting in direct August sun. This is aesthetic work, not mechanical, so the risk is to the door’s finish, not your body. Worth noting: painting a door does not extend the life of the mechanical components, and it does not replace maintenance on the springs, cables, and rollers.
Replacing a broken hinge. It depends entirely on which hinge. The hinges in the middle of the door sections are bolted to the panel and the roller stem. If the hinge is not load-bearing and you can replace it without touching the cables, it’s a simple wrench-and-socket job. But if the hinge is the bottom one that anchors the lift cable, that cable is under tension, and you need to know how to transfer that tension without losing it. Not beginner work.
Never DIY: Where Stored Energy Wins
A door is 200 pounds riding on two springs. Respect it. Otto says this on service calls at least once a week, usually after someone has asked him why the spring that “looked fine” unwound on them in the garage.
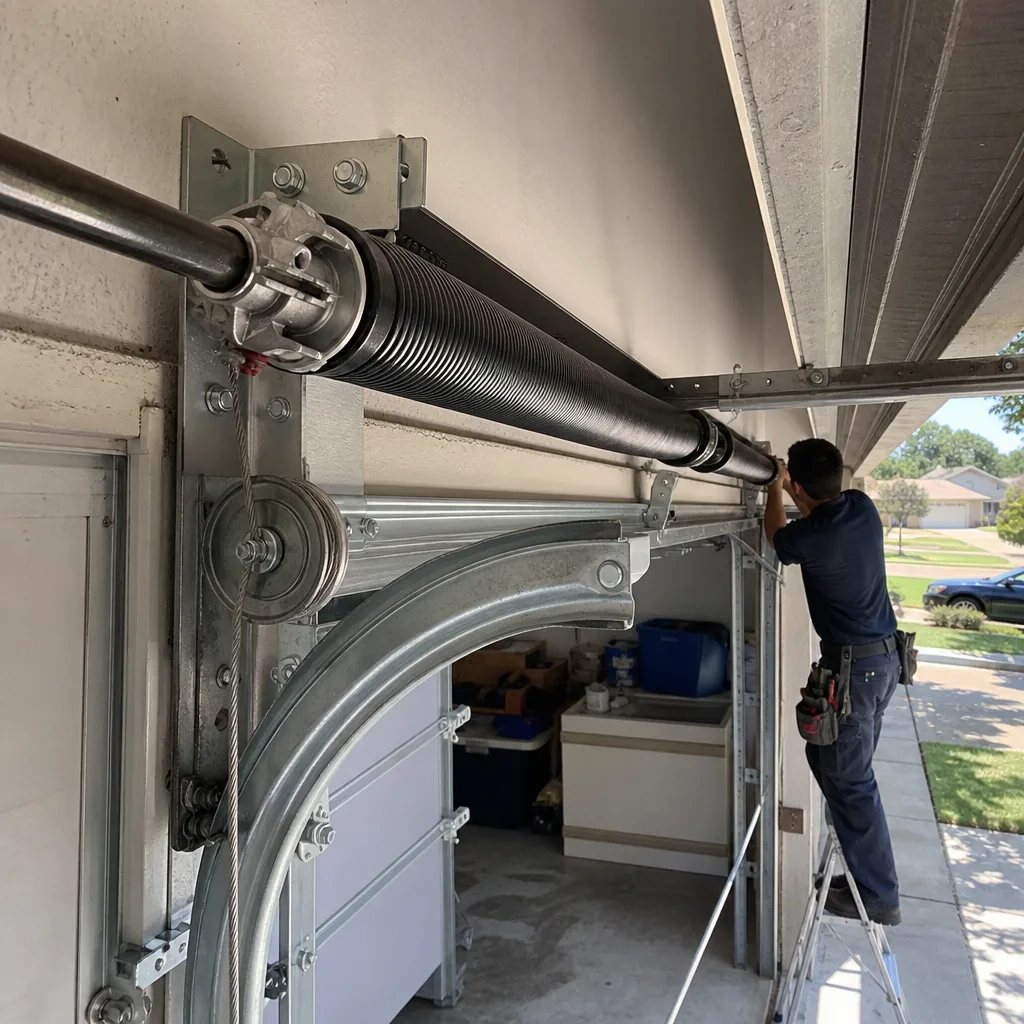
Torsion spring replacement and adjustment. The torsion spring mounted on the bar above your door holds the entire counterbalance. When the door is closed, that spring is under maximum tension. A single winding bar is about 18 inches long. If the spring is at 7.5 turns of tension and the bar snaps back, that’s not a bruise. That’s a broken wrist, a fractured orbital bone, or a lacerated face. YouTube tutorials show the successful attempts. They do not show the aftermath when a cone breaks or the bar slips. Every single year, homeowners in Tarrant County end up in the Baylor Scott & White ER in Grapevine from this exact repair. The tools cost $50 to $80 for a set of winding bars and then you’re still underneath a loaded spring. The risk cannot be removed by caution alone. If the spring snaps, which is what happens when they fail, you’ll hear it from any room in the house. It sounds like a gunshot. Do not put a wrench to it.
Cable replacement. The lift cables run up each side of the door and connect the bottom bracket to the drum above. Those cables carry the full weight of the door when the spring isn’t doing its job. When a cable snaps, the remaining cable still holds full tension. Replacing it means unwinding the spring, removing the old cable, feeding the new one through the drum, and rewinding the spring evenly. If you unwind one side but not the other, the door frame can twist. If you lose grip on the cable, the free section whips. Not worth it. We’ve seen doors come apart at the track when a homeowner got the cable wrap wrong.
Track repair and realignment. Track work looks straightforward because the track is just bolted to the wall. But when a door comes off the track, the door itself is out of balance, and rehanging it means understanding where the load is. If the vertical track has pulled away from the jamb, it’s often because the door was already binding, which means a spring issue, which means a bigger problem that track bolts alone won’t fix. This is not a pry bar and hammer job.
Bottom bracket replacement. The bottom brackets bolt to the bottom panel and anchor the lift cables. They’re under full tension whenever the door is connected to the cables. The bolts that hold them can be so tight they twist off a standard socket. If the bracket bends or the cable anchor wears through, that’s a spring-off, cable-unloaded job. Do not attempt this with the door still connected.
If you’re not sure whether your situation fits one of these patterns, start with a visual inspection and a phone call. We’re happy to talk you through what you’re seeing. The Otto’s Garage Door home page has our standing offers and covers how we run calls, from a live person on the phone to a written 90-day guarantee on the work.
Real Cost Comparison for Keller: When DIY Saves and When It Doubles the Bill
Let’s put actual Keller numbers on the three tiers so you can see the math before you decide.
| Task | DIY Cost | Professional Cost in Keller | Verdict |
|---|---|---|---|
| Remote battery replacement | $4 to $12 | $65 service call + part | DIY, always |
| Bottom weather seal | $25 to $45 | $120 to $160 installed | DIY for most |
| Photo eye realignment | $0 | $85 to $130 | DIY, ten minutes |
| Routine lubrication | $10 to $15 | $90 to $140 maintenance visit | DIY, twice a year |
| Roller replacement (all) | $30 to $70 parts + 2-4 hours | $140 to $220 installed | Borderline, depends on door |
| Opener installation | $200 to $450 unit + 6 hours | $450 to $750 installed | Professional for most |
| Torsion spring replacement | $60 to $120 parts + winding bars + ER bill risk | $220 to $350 installed | Professional, no question |
| Cable replacement | $30 to $50 parts + specialty knowledge | $180 to $280 installed | Professional, no question |
| Track realignment | N/A, cannot be safely DIY | $200 to $400 depending on damage | Professional, no question |
The pattern is not subtle. The DIY wins are all under $50. The DIY disasters all involve the same few mechanical components. Here’s the part competitors don’t mention: a failed DIY attempt on a cable or spring almost always costs more than just calling first. When a homeowner unwinds a spring and loses control, the door falls against the track, bends it, pulls the brackets, and now a $250 spring job is a $700 track and panel replacement. We have quoted those jobs. It happens every year in Keller, in neighborhoods from Saratoga to Country Hill Estates.
And the price you’re quoted is the price you pay. Otto quotes on the call and holds that number when he gets there. If the job turns out to be bigger than described, you’ll hear about it before any work starts, not after the invoice prints. You can see more of how we structure pricing on our Garage Door Installation in Keller page, particularly for new door work where measurements happen before any quote is finalized.
Tool and Parts Reality: The DIY Math That Works Against You
Some jobs look like they save money until you price out the tools you’d need to buy for a single use. Here’s where the DIY math flips.
Winding bars for torsion springs. A proper set of 18-inch bars costs $50 to $80. A homeowner doing one spring replacement will use them exactly once. A professional uses them multiple times a day. The savings gap between a DIY spring job and calling a pro is roughly $100 to $200. Subtract the tool cost, and you’re gambling your hands to save maybe $120. That is a bad trade in any currency.
Drum and cable winders. There’s no homeowner-grade tool for this. You can improvise with vise grips and a prayer, which is how the cable whips loose and slices through drywall, or worse. The professionals use the same basic tools you could buy, but they’ve done it thousands of times. Repetition is the actual safety equipment.
Track bending tools. Track sections that get misaligned often need more than a re-bolt. They need reforming. That means a track anvil or a hydraulic spreader at $100 to $250. No homeowner needs that in their garage forever.
Opener force gauge. To set an opener’s reversal force correctly, you test that it reverses when it meets resistance equivalent to a 2×4 lying flat. You can do this with an actual 2×4, but calibrating the force dials requires a process of trial and error that most DIYers skip. A mis-set opener is the leading cause of a door crushing a car bumper when the sensors are blocked by a leaf and the force setting is too high.
Parts availability in Keller. Big box stores stock generic rollers, weather seals, and remotes. They do not stock torsion springs matched to your specific door weight and cycle rating. When a spring breaks, the replacement needs to be spec’d to the door’s actual weight and the drum geometry. Buy the wrong spring online, and the door rockets into the header or won’t lift at all. If you’re replacing a spring yourself, you’re already making the wrong decision twice: once for the risk, twice because the parts you need aren’t on the shelf anyway.
What Otto Tells Homeowners Who Want to Do It Themselves
Otto doesn’t talk people out of DIY on principle. He talks people out of DIY on specific jobs where he’s seen the outcome. Here’s the honest version of what he’ll tell you on the phone.
What he’ll walk you through, no charge:
- The remote has a dead battery and you’re not sure which kind to buy. Otto will ask you the brand, tell you the battery type, and tell you how to open the compartment without breaking the clip.
- The door reverses when closing. He’ll ask you to check the photo eyes, tell you what the light pattern means, and guide you through the realignment in ninety seconds.
- The door is loud when it moves. He’ll tell you whether you’re hearing a lube problem or a roller problem, and which one you can fix with a $9 can of grease.
- You pulled the red cord and the door is heavy. He’ll tell you to stop using it and schedule the spring replacement, because the opener is now carrying weight it was never designed to carry.
- You’re not sure what kind of spring you have. He’ll ask you to look above the door and describe what you see, then tell you exactly why it matters for safety.
What he’ll drive over for, even if it costs more than you wanted to spend:
- Any torsion spring issue. The minute you say “spring” and “above the door” in the same sentence, the conversation is over. He’s coming.
- A cable that’s off the drum or frayed. The door is a loaded weapon at that point.
- A door that came off the track. That’s a structural failure, not a maintenance item.
- An opener that’s been struggling for months. If the opener is straining, the problem is almost never the opener. It’s the spring. And a failing spring is the exact wrong time for a homeowner to start experimenting.
There’s also the parts question. If you buy rollers online and they arrive and they’re the wrong diameter, you’ve now paid for parts twice and still have no working door. Otto carries parts on the truck that match the brands most common in Keller homes: LiftMaster, Chamberlain, Genie, Amarr, Clopay, Wayne Dalton, Craftsman, and Raynor. Browse more guides & resources on keeping your door running right. When you call ahead and describe what you see, the person who answers, often Otto himself, quotes the job and shows up with the right part the first time.
For a closer look at opener-specific troubleshooting and what’s actually worth diagnosing before you call, our Garage Door Opener in Keller page goes deep on when openers can be repaired versus replaced, and what those jobs cost here.
Common Mistakes to Avoid
- Trying to adjust a torsion spring without winding bars. People use screwdrivers, pry bars, even Allen wrenches. These slip out of the winding cone under load. The bar becomes a projectile. This is the number one cause of garage-door ER visits in the DFW metro.
- Painting the garage door track. Paint builds up in the track channel and the rollers bind against it. In Keller’s humidity, the paint softens and attracts dust that turns to grinding paste. Keep paint on the door panels, not on the track or rollers.
- Replacing only one spring when a two-spring door breaks. When one spring fails, the other has the same cycle count and the same wear. Replacing only the broken one leaves a half-dead spring on the other side, and the door will sag and bind within a year. Always replace both springs on a two-spring door.
- Disconnecting the opener while the door is up. If the door is open, the springs are at their lowest tension, and pulling the red cord means the full door weight is now held by the springs and cables at their weakest point. If a spring is already compromised, the door comes down hard. Always test the manual release with the door down.
- Buying parts by price instead of specification. A $38 torsion spring from an online marketplace is not spec’d to your door. Spring wire diameter, inner diameter, overall length, and wind direction all matter. The wrong spring either won’t lift the door or turns it into a catapult.
- Ignoring a slow or straining opener for months. The opener motor is not designed to compensate for tired springs. By the time the opener burns out from strain, you’ve now got two problems to pay for instead of one. We see this in Keller regularly, especially on doors installed during the 2005-2010 building boom around Marshall Ridge that have never had a spring replacement.
- Lubricating the opener rail with WD-40 instead of the proper grease. WD-40 is a solvent, not a long-term lubricant. It cleans and then it evaporates. Use a white lithium or silicone-based product on the rail and the hinges.
When to Call a Professional
Call when the door is sagging on one side, when you hear a bang, when the cables look like frayed rope, when the door feels heavier than it did last month, or when the opener runs but the door doesn’t move. Call when you’ve watched a YouTube video and the first step involves unwinding anything. Call when the door is off the track entirely and your car is trapped inside. That last one is not the time to improvise. Otto’s Garage Door offers free estimates in Keller, and a live person answers at (817) 241-0932 any hour of the day, including nine at night when a spring lets go and you’re supposed to be at work by seven. We quote on the call and hold that number when we get there. No trip charge inside our home county. The 90-Day Done Right Promise is written on every invoice.
Frequently Asked Questions
No. A torsion spring holds enough stored mechanical energy under tension to break bones or kill if the winding bar slips or the cone fails. The risk is present even when the door is closed, which is when the spring is under maximum load. Replace a battery yourself. Replace a spring by calling a professional at (817) 241-0932.
Most garage door repairs in Keller run between $150 and $400 depending on the issue. Weather seal replacement is on the low end, around $120 to $160. Torsion spring replacement typically runs $220 to $350 for a two-spring door. Opener repair or replacement lands between $200 and $600. Every quote is given before work starts and written on the invoice.
You can, technically, but it’s not worth the risk. The lift cables carry the door weight and the remaining cable is under full tension even when the door is down. A mistake here means the cable whips loose or the door shifts off the track. This is not a job where caution prevents injury. Call instead.
Keller homeowners should do five things themselves: change remote batteries, realign photo eye sensors, replace the bottom weather seal, lubricate hinges and rollers with white lithium grease twice a year, and visually inspect cables and hardware monthly. Everything else is either specialty-tool territory or stored-energy danger.
In most cases, the photo eye sensors near the bottom of the track are misaligned or dirty, and the door reverses because the safety system is working exactly as designed. Start by wiping the sensor lenses and realigning them so the indicator lights go solid. If the problem persists, the issue is likely in the force settings or the springs.
Standard torsion springs are rated for about 10,000 cycles, which works out to 7 to 12 years for most Keller homeowners, depending on how often the door cycles daily. Two-spring doors wear evenly, so both springs should be replaced at the same time. A manual balance test once a month tells you when springs are fading before they break.
Garage door repair and spring replacement do not require permits in Keller. Full door replacement may require approval from an HOA if you live in a community like Marshall Ridge or Hidden Lakes that has architectural control standards, but the city permit process for a like-for-like door swap is minimal. We handle the permitting conversation as part of the install when it applies.
No. The price quoted on the phone is the price you pay when we arrive, unless the physical inspection reveals something additional that you did not describe and that could not have been known from the phone call. In that case, we stop and show you exactly what we found and quote the revised scope before any work begins. Nothing gets added to the invoice after the fact.
The Bottom Line
The DIY versus professional decision for your garage door is not about how handy you are. It’s about what happens when the tool slips, the cable whips, or the spring lets go. The safe DIY list saves you real money and keeps the door working between professional visits. The never-DIY list protects your hands, your face, and your wallet from the compounding cost of a failed amateur repair. When it’s a battery, a seal, a sensor, or some grease, do it yourself and feel good about it. When it’s a spring, a cable, a track, or a door that won’t lift, call (817) 241-0932 and speak to Otto or someone who works directly with him. In Keller, the cheapest repair is usually the one done right the first time, by someone whose name is on the van and on the invoice.
Written by Otto Reinhardt, Owner at Otto’s Garage Door, serving Keller since 2004.